G’day Folks, A couple of weeks ago I re-discovered an old N Scale epoxy resin casting for the body of an Victorian Railways ‘I/IA’ wagon. For prototype information visit:
http://www.victorianrailways.net/freight/freight%20pages/iia/i-ia.html
http://www.pjv101.net/cd/pages/c005m.htm
http://www.pjv101.net/cd/pages/c009m.htm
I had the required PECO chassis and Microtrains body mount couplers on hand and so commenced work.
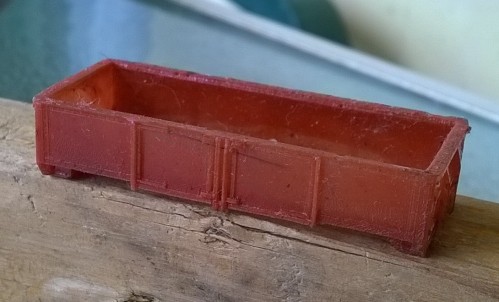
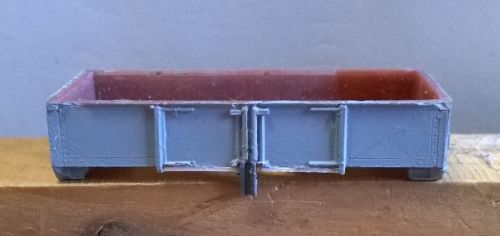
The 30 year old casting as found:
To reveal what was needed to be done to what I gave the casting a light coat of grey primer from a spray can. I planned to remove this coat of primer with caustic soda solution later.
LESSON 1.
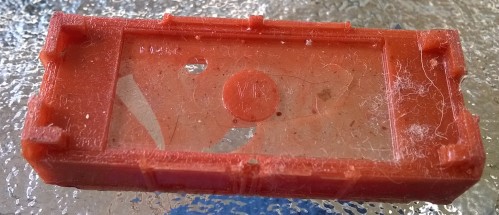
A coat of grey primer can reveal a lot of detail:
LESSON 2.
The camera on your mobile phone can be a great tool in revealing detail and enabling thought about your project.

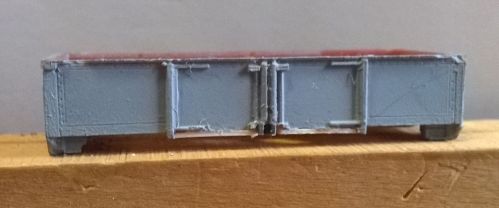
By comparing the photos of each wagon side I was able to work out what repairs needed to be done. As you can see: a) the bottom of the doors on one side had been chipped away. b) the bottom of the upright stanchion between the doors on this same side had also been chipped away.
Looking at the photos and enlarging them allowed me a better view, and hence better planning, of what needed to be done.
I resolved to gently carve away the bottom of both doors on the damaged side until they were flush with the wagon base and then replace them with strips of styrene. The stanchion between the doors would be repaired by using a small piece of styrene ‘U’ shaped channel from the styrene scrap box.
LESSON 3.
A pair of digital calipers are a real advantage!
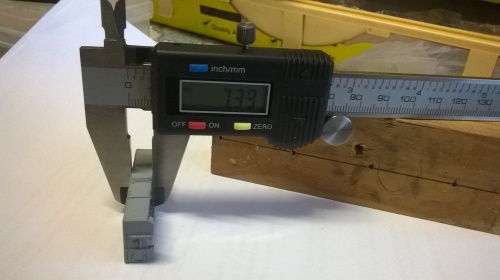
After trimming back the damaged doors I used a pair of digital calipers to measured the height of the doors on both the undamaged and damaged sides. The difference worked out to be about 0.5mm (0.020″). These measurement would have been difficult and eye straining if I’d used my usual steel ruler.
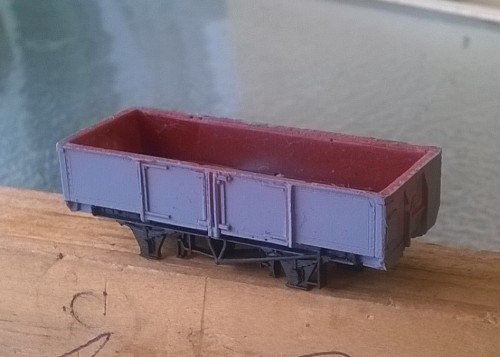
So the repairs were done:
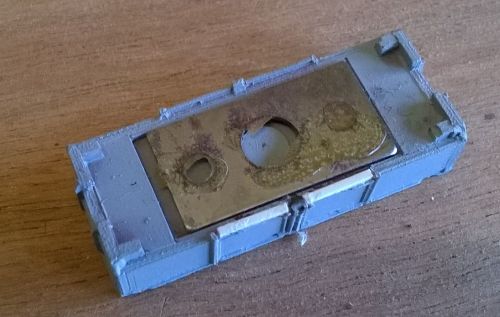
After stripping back the paint with a bath in a caustic soda solution I fitted the chassis and painted it all up in VR red oxide and applied decals.
I also fitted a new floor made out of thin styrene and painted the inside of the wagon a gunmetal colou7r to represent the unpainted finish of the inside of the wagon.
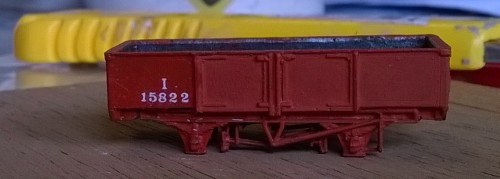
As the red oxide paint had a matt finish I gave the panel where the decals would be applied a coat of glass varnish to provide a smooth surface.
When that was done I applied two coats of matt varnish to seal the decals and even out the finish. Then it was time to fit the wheels and couplers: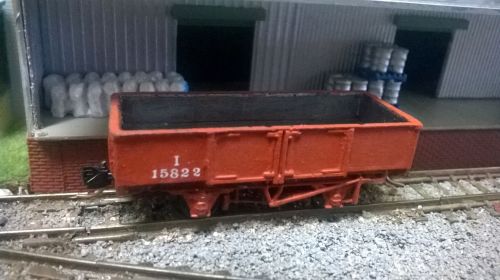
Weighting and extended test running are all that is needed to completely finish the job.
Just realised that this photo is of the `good’ side of the wagon. I’ll update with a photo of the repaired side in a day or so.