With the sides of the modules all fixed together I moved on to fitting the 3mm plywood top with fast drying glue and some small nails. My supply of plywood is in long pieces of 250mm width, therefore two pieces were needed to cover the top of the corner module. Each piece was fitted separately and then they were secured together by gluing an approximately 40mm wide off cut of plywood along the butt joint on the underside. This was held down by a brick whilst drying. See the following pictures:
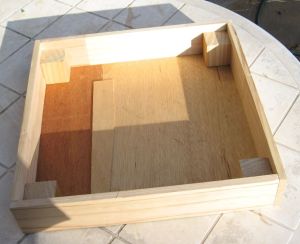
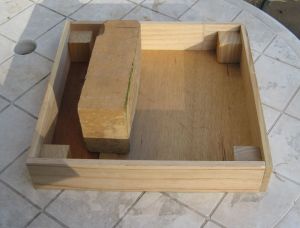
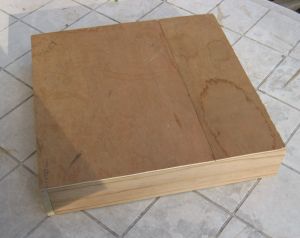 In our part of the world we have had an incredible amount of unseasonable rain and I made use of a patch of fine weather to next apply the paint (I enjoy working outside when it comes to woodwork and painting). The sides received a coat of `Rivergum’ green (in accordance with the Australian T-TRAK guidelines) and the top was done in “mother earth” to seal the plywood before applying scenery.
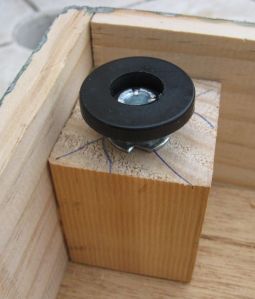
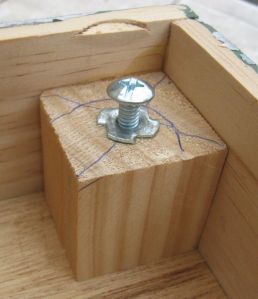
When the paint had dried I drilled holes for the 6mm Tee nuts and then hammered them in place. For the adjustable feet I use the plastic feet shown below, usually available in larger hardware stores, or mail-ordered from Timbecon in Western Australia ( Stock description: Adjustable feet, 6mm diameter, Stock number: ADJF-28). The usual alternative is using normal 6mm bolts.
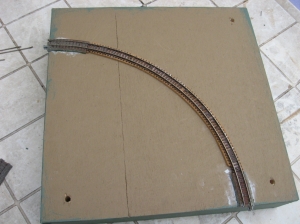
 Where both reasonable and possible I try to recycle track. This is not just for economic reasons but because local hobby shops are over an hour’s drive away. I had an old non-standard `end-return’ module that had Unitrack at the track ends and Peco flexible track for the most part. The Unitrack was held down with track pins and Selleys Brand “Wet Area Silicon Sealant” which holds the Unitrack securely, especially in the sideways and back and front directions, but does not stick the Unitrack down rock hard. The Peco track was held down by track pins and the PVA/water mix which holds the ballast in place. After removing all the track pins that I could find I soaked the track with water using three light applications spaced at five minute intervals. After waiting a further five minutes I carefully slid a paint scraper under the track and worked it forwards and steadily lifted up the track. I managed to remove about 75% of the track without damage.
The curve of track for this module has to be 282mm (approx 11 inch) radius. From the old module I was able to recycle one Unitrack 282mm curve section but I also retrieved two 249mm (approx 9 3/4 inch radius) sections. As these curved sections are all about 10 degrees of curvature or less I used one of the 249mm radius pieces which was slipped off the flexible track to which it was attached. The 282mm radius section had a length of flexible track of sufficient length to reach around the whole curve for the module already inserted in it. It had also been curved to nearly the correct radius.
I double checked where the holes drilled in the Unitrack sections for track pins were and marked where the edges of the Unitrack base have be located. I then spread some of the Selleys Brand “Wet Area Silicon Sealant” on the module top where the the first section of Unitrack would be laid.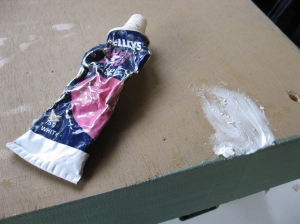 Then I held a 1mm thick steel ruler against the module’s edge and slid the Unitrack into position. The silicone sealant plus a bit of deft finger work held the Unitrack in place while I hammered in the track pins, checking the track location after each pin was fixed down.
 I then began at the other end of the Peco flexible track. I cut away some of the sleepers from the flexible track and slid the Unitrack base onto the rails (The Australian T-TRAK Guidelines has a section on joining Unitrack to `normal’ code 80 type track, referring to that will help in understanding how I am working on this module). Removing the Kato Unitrack Uni-joiner makes life a lot easier at this stage and will allow for trimming the rails a bit later. With the track curved to a good position I found that I still needed to remove some sleeper webbing. I guessed at five sleepers, but found out that I only needed to have taken out four.
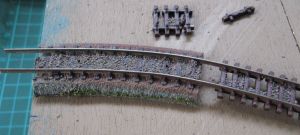 While making sure that there was a `good’ curve in the flexible track I fixed down this second piece of Unitrack with Silicone Sealant and track pins. A strip of 3mm thick cork was slid under the flexible track and track pins were used to hold the flexible track in place. I used a Dremel-type motor-tool with cutting disc to cut the rails flush with the end of the Unitrack base. Putting the Uni-joiner back into the track and trimming and sliding in the fifth sleeper I had removed finished the job. There are some damaged sleepers in the section of flexible track but some trimming and use of strips of balsa wood should fix that.
The scenery plan at this stage is a low cutting through bushland on the outer side of the curve and a dairy cow paddock on the inner side, or vise versa.

I like what you are doing. My take is similar. However I am using Atlas code 55 as my main track with a piece of Peco code 55 as a translator. The Peco rail has to be modified to accept the Unijoiner. This simply involves filing down the intermediate base.